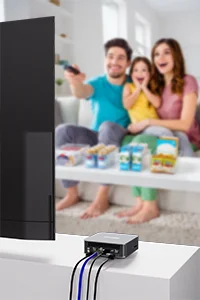
Mini PCs are versatile powerhouses, seamlessly transitioning between home entertainment, office productivity, and educational innovation, while catering to a range of specific needs—whether you’re a professional seeking efficient multitasking, a student enhancing your learning experience, a gamer looking for compact performance, or a content creator in need of powerful tools for creativity.
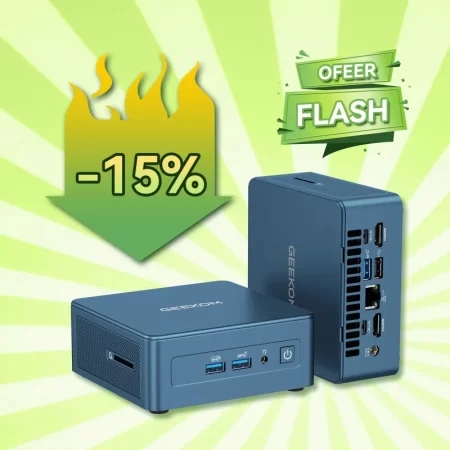
Hot sale
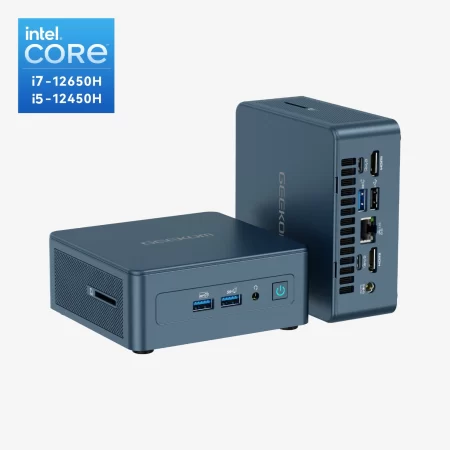
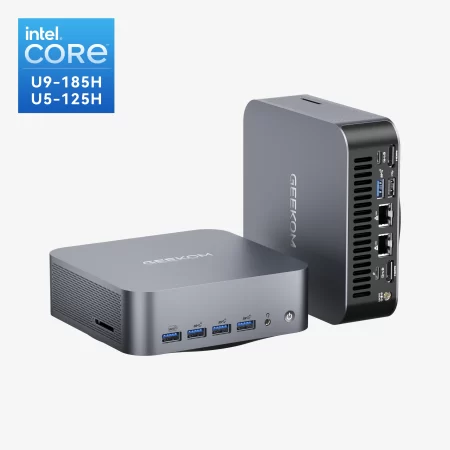
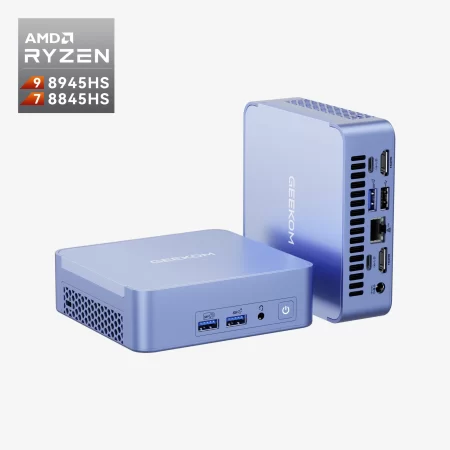
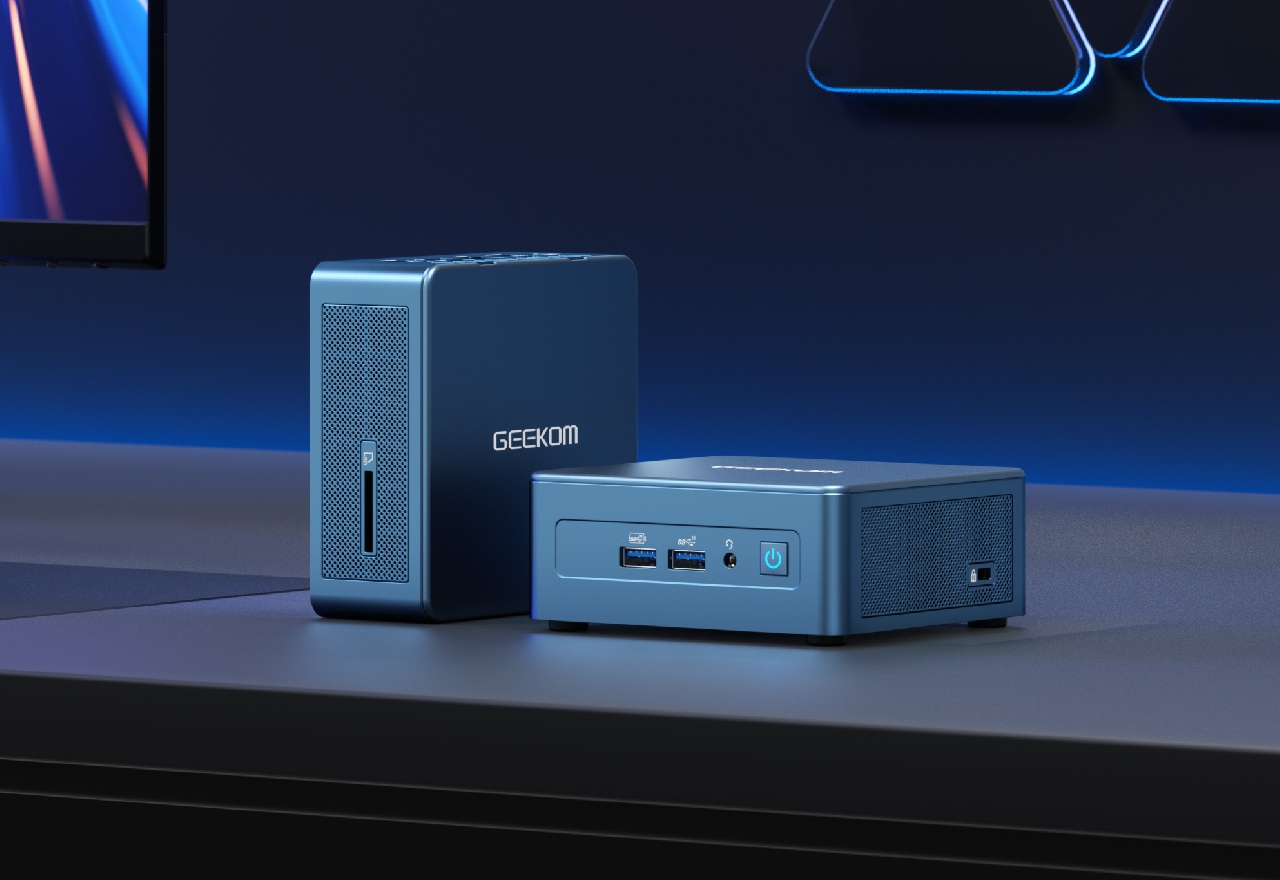
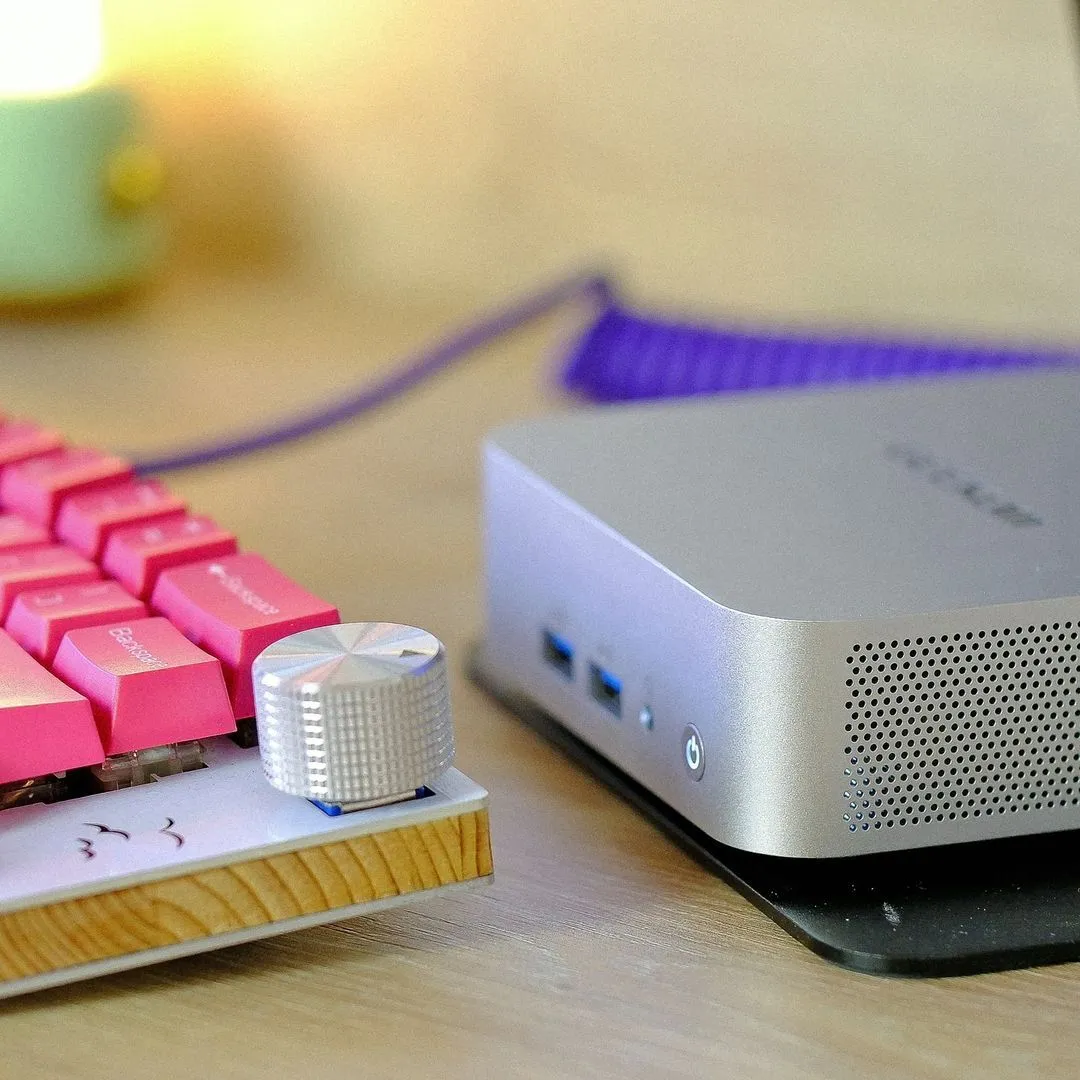
GEEKOM Mini IT13
· 13th Gen Intel Core i9/i7
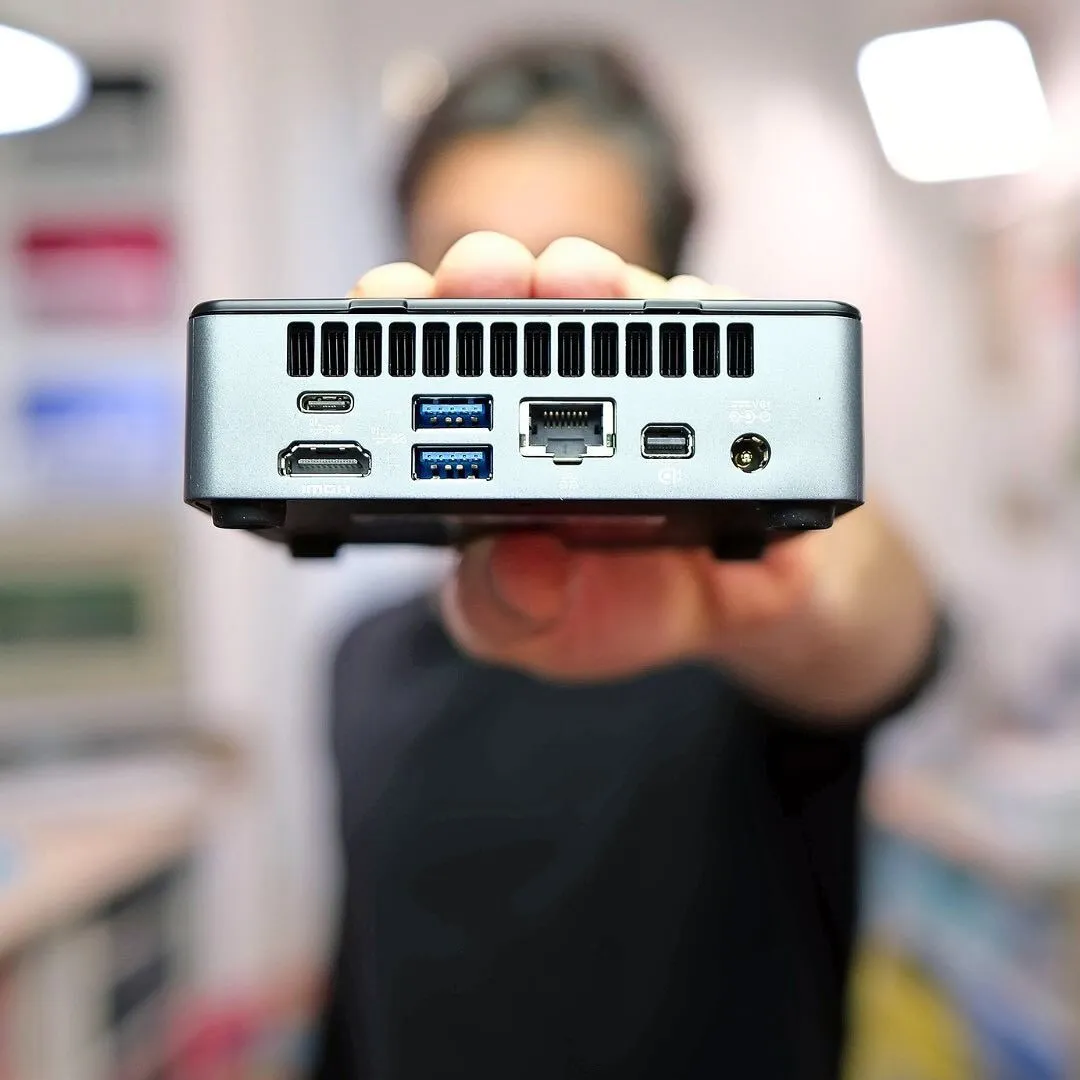
· Support four 4K displays
· Dual-channel DDR4 3200MT/s
· Wi-Fi 6E and Bluetooth 5.2
· Ultra-slim, space-saving design
· Pre-installed with Windows 11 Pro
Fast startup and program start. Easy to add extra ssd from my old computer. Small size gives me extra space in study. Picture quality excellent on my large vdu. A good value computer.
Really happy with the performance and size of this computer. Twice the memory at 32gb, 1tb storage and at least 2.5 x speed of the laptop it is replacing. But I am most happy with the small amount of desk space it takes up while still having the performance and connectivity.
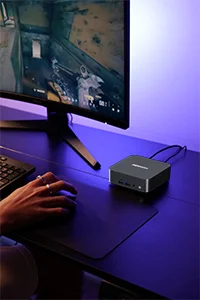
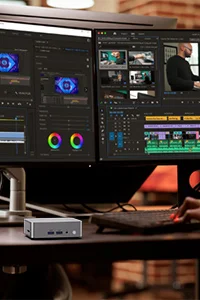
I have been amazed at the speed of my GEEKOM A7, everything is so much faster now, almost instantaneous. It's from another planet compared to my old PC. I do a lot of photo processing and I'm much more productive. Game play is so much better with fantastic graphics. 2TB drive will takes ages to fill up. I can't find fault with it!
It is well made and tiny. For most general pc stuff it is perfect. Not a games machine, but up to the job for most things. Very compact and quiet. I would recommend to any body you wants a small simple pc.
GEEKOM A8 Mini PC review: Crazy power in a compact case.
GEEKOM A5 Mini PC is lightning-fast, ultra-compact.
GEEKOM XT12, it's powerful for its size making it the perfect low-cost alternative to laptops and desktops.
Packing this much power into a device as small and unobtrusive as the Mini IT 13 is impressive. It’s small enough to sit on my monitor stand, taking up no extra desk space at all.
GEEKOM makes some of the best mini PCs in the market. We like their PCs because they pack a lot of punch in a small, compact design.
Whether you’re a professional in need of a compact server, a content creator looking for a portable workstation, or simply require a space-saving solution for your small office, the GEEKOM Mini A5 delivers on all fronts.
While larger PCs have the advantage of fitting bigger components and better cooling systems, small form factor PCs like the GEEKOM A7 offer a viable alternative for those with moderate computing needs, providing a space-efficient option for various environments.
Potent Performance in a Petite Profile: The GEEKOM IT13 mini-PC boasts cutting-edge 13th Gen Intel Core processors, delivering robust computing prowess within a diminutive build, catering to users seeking both productivity and entertainment without sacrificing space.
The GEEKOM Mini IT13 offers all the bells and whistles expected from a high-end mini PC for multimedia and office.
But, having used the GEEKOM A7 quite extensively over the past month, I’ve found that it’s a high-performance but quiet little computer.It also offers the best value for the money of any mini PC that I’ve reviewed in the past year.
With that said, the GEEKOM A5 kept up impressively with my usual 4K video editing workflow, competitive games like Fortnite, and as a dedicated streaming PC for encoding to Twitch.
GEEKOM A5 mini-PC Review: Affordable Cezanne Zen 3 at 35W.