How to Update Intel Core i5 Processor: A Complete Guide

How to Update Intel Core i5 Processor

Introduction

Improving the CPU in your PC can wake up a tired old system with revitalized performance, so you will get a better computing experience overall. An upgrade could reference improvement in the sluggish performance of applications, upgrades for better multitasking, or simply improve your system performance for more demanding needs. An increase from your current CPU to a new Intel Core i5 CPU can be a worthwhile upgrade.

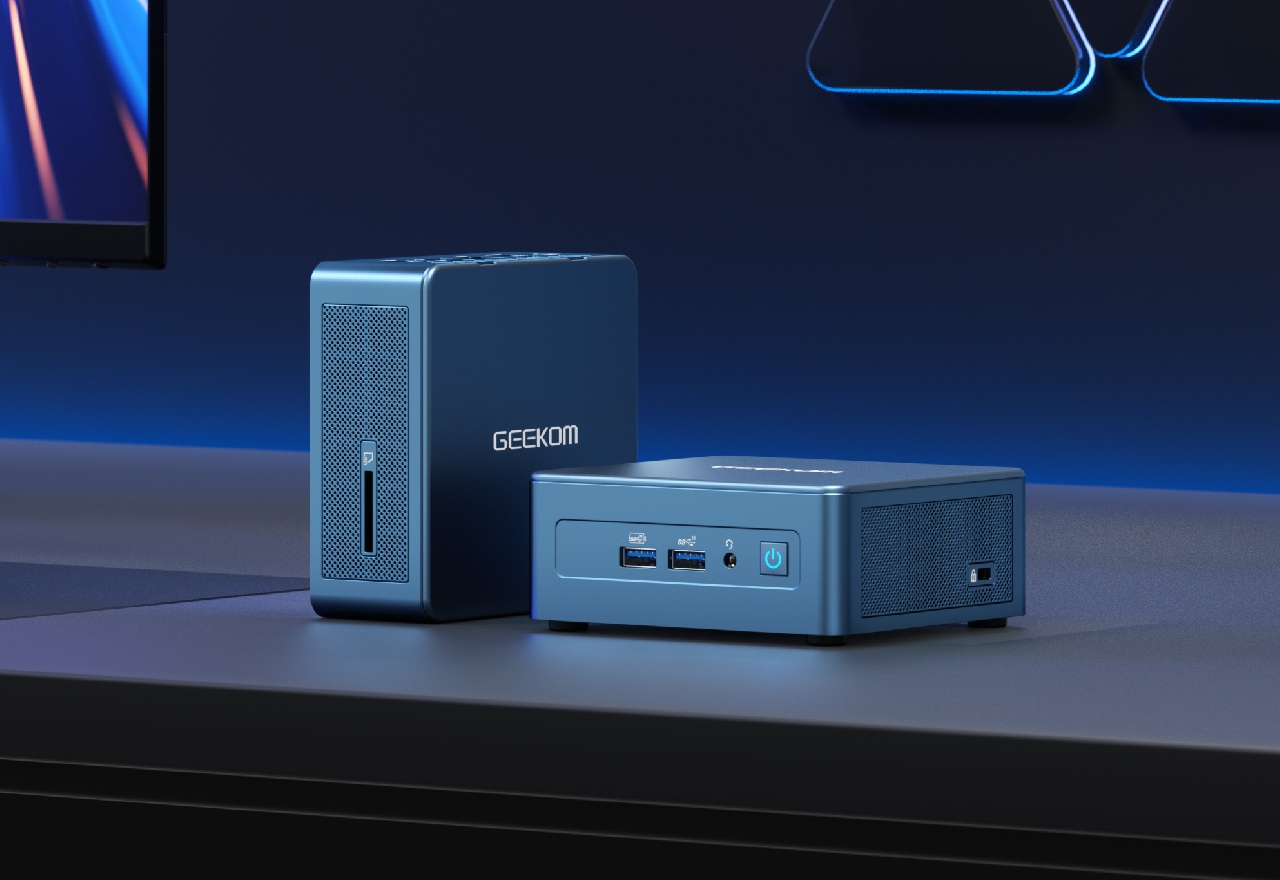
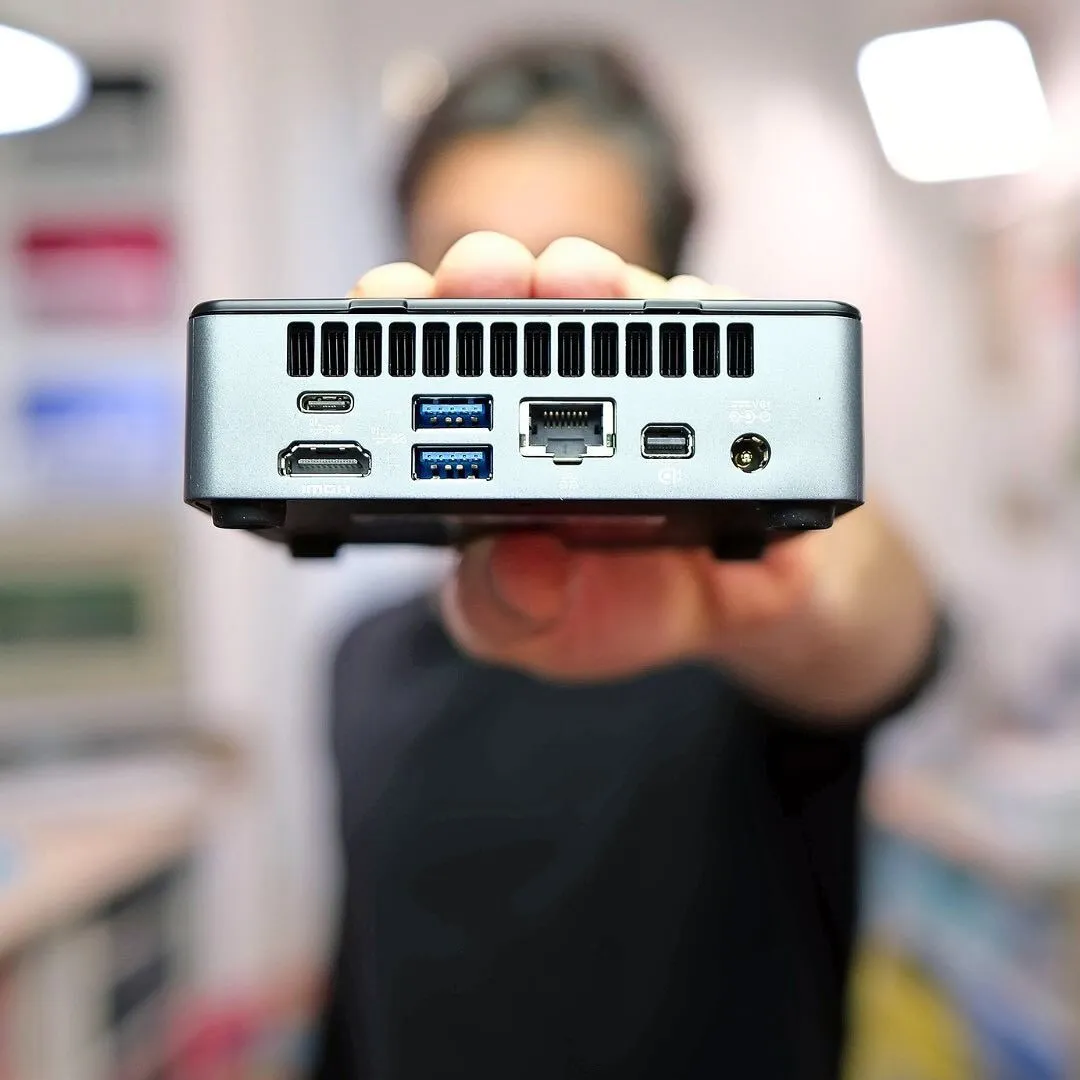
Within this guide, we will walk you through some of the prerequisites for upgrading to an Intel Core i5 processor on your PC, laptop and mini PC, and what to expect so your decisions and preps will enhance the upgrade experience.

Preliminary Steps for Intel i5 Processor Upgrade

1. Understanding Processor Upgrade Needs

Before entertaining a processor upgrade you’ll want to assess whether you do, in fact, need to upgrade. You typically will need to upgrade if your current system is having trouble keeping up with your existing workload, what software requires, or your gaming needs. Symptoms of your system indicating a need to upgrade include:

  • Slow Performance: Applications take longer to open, and tasks take longer to complete.
  • Poor Multitasking: Your system slows down significantly when multiple applications are open.
  • Software Incompatibility: New software or updates cannot run because they require more processing power.

Being aware of these problems may help you decide if a processor upgrade will fix your problem and ascertain whether you would be better served with an upgrade, for example, additional RAM or an SSD upgrade.

2. Compatibility Checks

One of the most critical steps in upgrading your processor is ensuring compatibility with your existing system. This involves several key aspects:

1. Motherboard Socket Type

  • Identify Your Socket: Processors are designed to fit into specific motherboard sockets. For example, Intel Core i5 variants may require sockets like LGA 1151 or LGA 1200.
  • How to Check: Use a tool such as CPU-Z to determine the socket type of your motherboard. This information can be found under the “Mainboard” tab in the CPU-Z application.

2. Chipset Compatibility

  • Understand Chipset Role: The chipset on your motherboard facilitates communication between the processor and other system components. It’s essential that the chipset supports the architecture of your new processor.
  • Check Compatibility: Refer to your motherboard manufacturer’s specifications online to confirm that the chipset can support the specific Intel Core i5 model you intend to install.

3. BIOS Updates

  • Importance of BIOS: The BIOS (Basic Input/Output System) may need an update to recognize and support a new processor fully.
  • Updating BIOS:
    • Check for Updates: Visit the motherboard manufacturer’s website and navigate to the support section to find the latest BIOS updates.
    • Follow Safe Update Practices: Ensure a stable power supply during the update process to prevent any corruption of the BIOS, which could render your motherboard inoperable.

3. Backup and Data Security

It is important to back up your data before making any hardware changes. Hardware upgrades don’t always work out as planned, and a full backup will ensure that your data is safe in any situation. Here’s a few things you can do proactively to allow for safe data backup:

  • Backup Software: Use reliable backup software like EaseUS Todo Backup or Acronis True Image to create a full system image. This image can be restored to return your system to its previous state if something goes wrong during the upgrade.
  • Backup Management: Manage your backups by storing them in multiple locations, such as an external hard drive and a cloud storage service. This redundancy ensures that you can access your data even if one backup fails.

With these preliminary steps, you will be prepared to do a successful processor upgrade, all while minimizing risk to yourself and your system in preparation for your new Intel Core i5. The next section will guide you through choosing an appropriate processor, upgrading the processor itself, and ensuring that your new build runs smoothly upon completion.

Choosing the Right i5 Series Processor

Upgrading to a new Intel Core i5 processor means more than simply finding the latest processor to upgrade. You’ll want to consider your individual system requirements, what processor is compatible with those requirements, and your budget. Here’s a guideline to get you started in choosing the right processor for your upgrade:

Selecting a Compatible Processor

When choosing an Intel Core i5 processor, consider the following factors to ensure compatibility and performance:

  • Processor Generation: Intel releases new generations of processors frequently, each offering improvements in performance, power efficiency, and capabilities. Check the generation that is compatible with your motherboard’s chipset and BIOS. For example, if your motherboard supports 8th generation processors, an Intel Core i5 from the 8th generation would be an ideal choice.
  • Thermal Design Power (TDP): TDP is a crucial factor as it indicates the amount of heat a processor generates and expects the cooling system to dissipate under typical load. Make sure your laptop’s cooling system can handle the TDP of the new processor to avoid overheating issues.
  • Performance Requirements: Consider what you need from your upgrade. Are you looking for better multitasking, improved gaming performance, or more efficient data processing? Higher clock speeds and increased core counts can significantly impact these aspects.

Purchasing Considerations

Once you have identified the right processor model, the next step is to make the purchase. Here are some tips to ensure you get the best deal and the right product:

  • Authorized Dealers and Warranty: Purchase your processor from authorized dealers to ensure that you receive a genuine product and can take advantage of warranty services if needed. This is crucial for protecting your investment.
  • Price Comparisons: Shop around and compare prices from different retailers. Online platforms often offer competitive pricing, but make sure to include potential shipping costs and import duties depending on your location.
  • Second-Hand Processors: If you are on a tight budget, considering a second-hand processor might be an option. However, be cautious and ensure it comes from a reliable source. Check for any signs of damage or excessive wear, and inquire about the return policy before purchasing.

How to install the i5 CPU

Upgrading your processor is a precise and intricate task that needs careful consideration and accuracy. Here’s an easy-to-follow process to guide you through the installation.

Safety Precautions

  • Ensure you are working in a static-free environment by using an anti-static wrist strap or ensuring you are grounded.

General Disassembly Instructions

Laptops

  1. Power Down and Disconnect:
    • Ensure the laptop is completely powered off and disconnected from all power sources.
  2. Remove the Battery (if applicable):
    • Remove the battery to prevent any electrical issues.
  3. Open the Back Panel:
    • Unscrew the necessary parts to access the internal components.

Desktop PCs

  1. Power Down and Disconnect:
    • Turn off the PC and unplug all cables.
  2. Open the Side Panel:
    • Remove the screws or slide off the side panel to access the motherboard.

Mini PCs

  1. Power Down and Disconnect:
    • Ensure the mini PC is powered off and all cables are disconnected.
  2. Access Internal Components:
    • Depending on the model, remove screws or covers to open the mini PC.

Replacing the Processor

Common Steps for All Devices

  1. Remove the Old Processor:
    • Locate the CPU socket and carefully unlock it (if applicable).
    • Gently lift the old processor out, ensuring not to bend any socket pins.
  2. Install the New Processor:
    • Align the new processor with the socket, noting the orientation indicated by a small triangle on one corner.
    • Place the processor gently into the socket without applying excessive force.
    • Secure the socket lever.

Applying Thermal Paste

  • Apply a small pea-sized amount of thermal paste to the center of the processor. This ensures effective heat transfer from the CPU to the cooler.

Reattaching the Cooler

  • Position the cooler back on top of the CPU and secure it according to the manufacturer’s instructions.
  • Make sure the cooler is firmly in place to prevent overheating.

Reassembly and Testing

Laptops

  1. Reassemble:
    • Reverse the disassembly steps to put your laptop back together.
  2. Power Up and Enter BIOS:
    • Verify the new processor is recognized and check for any system errors.

Desktop PCs

  1. Reassemble:
    • Replace the side panel and secure it with screws.
  2. Power Up and Check System:
    • Enter the BIOS to ensure the new processor is functioning properly.

Mini PCs

  1. Reassemble:
    • Replace any covers or screws removed during disassembly.
  2. Power On and Monitor:
    • Check BIOS settings and monitor system stability and temperature.

Post-Installation

Upon successfully installing your new Intel Core i5 processor, the first step is to ensure that everything is functioning properly and that your laptop is performing to its full potential. This section of the guide discusses what to do after installing your processor and how to utilize diagnostic tools, as well as how to troubleshoot some common issues you might encounter after your processor upgrade.

Using Diagnostic Tools

After upgrading your processor, you will want to check that everything is functioning as it should. Here are some diagnostic tests you can perform:

  • System BIOS Check: Immediately after installation, access your system’s BIOS. Verify that the new processor is correctly recognized and that all settings are correctly configured. This is also a good time to ensure that the system is detecting all hardware correctly.
  • Windows System Information: In Windows, you can quickly check your new processor’s details by navigating to Settings > System > About. Here, you will see the processor information listed, confirming the upgrade.
  • CPU-Z: This tool provides detailed information about your CPU, including the name, number, codename, process, package, and much more. It’s useful for confirming that the operating system is utilizing the new processor’s capabilities fully.
  • Stress Testing: Use stress testing software like Prime95 or AIDA64 to put your new processor through its paces. This helps ensure stability and functionality under load. Monitor temperatures and performance to ensure there are no overheating issues.

Maintaining Your Upgraded System

To maintain the performance of your upgraded system over time, it is extremely important to monitor its upkeep:

  • Thermal Management: Regularly clean out dust from air vents and cooling fans to prevent overheating. Consider applying new thermal paste annually if you notice temperature spikes.
  • Software Updates: Keep your operating system and all drivers up to date. This not only improves security but also ensures compatibility and optimal performance.
  • Hardware Checks: Periodically check the physical condition of your laptop, especially if you frequently disassemble it for upgrades or maintenance. Ensure all components are secure and that there is no damage from overheating.

Conclusion

An upgrade of your Intel Core i5 processor increases your laptop’s performance noticeably, making it a worthwhile project for anyone seeking more powerful processing on their machines. Following the steps in the guide, from the pre-installation phase through to the post-upgrade stage, should give you confidence that your effort paid off through the rest of your time with your improved system. Plans to upgrade your machine can present an enjoyable and satisfying challenge, but take the necessary time to make plans for a successful, upgraded experience, and avoid these common issues.

Frequently Asked Questions

What if my computer doesn’t boot after the upgrade?

Check to ensure that the processor is correctly installed and that no pins are bent. Also, verify that all connections, including power and cooling, are secure. If issues persist, consider resetting the BIOS or updating it if you haven’t already done so.

Why is my system overheating after the upgrade?

Ensure that the thermal paste was applied correctly and that the cooling system is adequately mounted. Overheating can also occur if the new processor’s TDP is higher than what your cooling system can handle. In such cases, upgrading your cooling solution might be necessary.

How do I optimize my system settings after a processor upgrade?

Updating your drivers, especially the chipset and graphics drivers, can help optimize performance. Additionally, adjusting your power settings in the control panel to favor performance can utilize the new processor’s capabilities better.

Picture of GEEKOM

GEEKOM

GEEKOM sets its R&D headquarters in Taiwan and several branches in many countries worldwide. Our core team members are the technical backbone who ever served Inventec, Quanta, and other renowned companies. We have solid capacities for R&D and innovation. We constantly strive for excellence in the field of technology products.

My Cart
Categories